New Features in pCon.planner 7.7Print
Working with Articles (pCon.planner PRO)
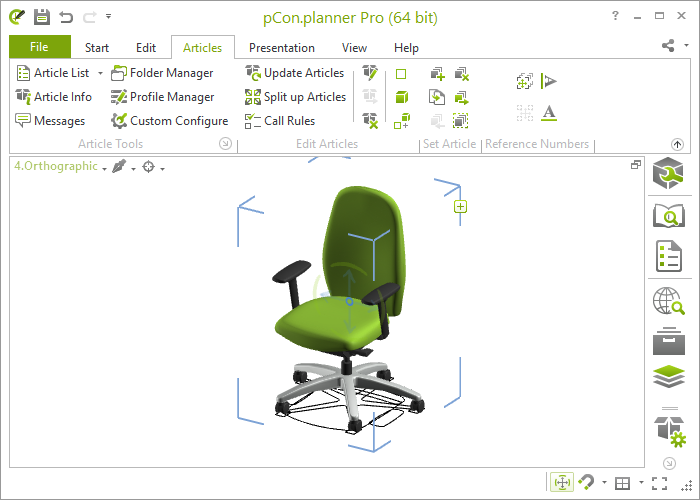
Article functions on the Quick Access Toolbar (pCon.planner PRO)
All options for editing articles with commercial information can be easily accessed in pCon.planner 7.7 PRO using the new Article tab on the Ribbon. In regard to content, working with and editing articles remains the same.
OFML Aided Planning (pCon.planner PRO)
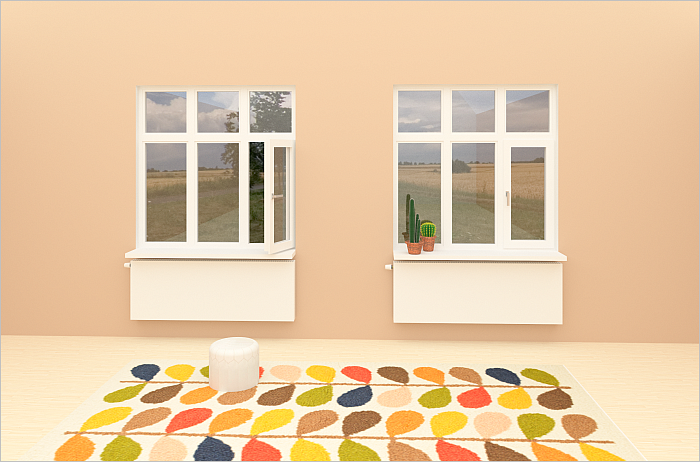
With the new concept OAP (OFML Aided Planning), you can interactively configure system furniture in pCon.planner PRO. Specific OAP interactors on the articles help to modify properties or allow you to add or remove elements.
Not only can you use OAP in pCon.planner, but the pCon.box can also process OAP data. Simply transfer your configured objects from pCon.planner into the sales tool and you can change structure and properties there, too.
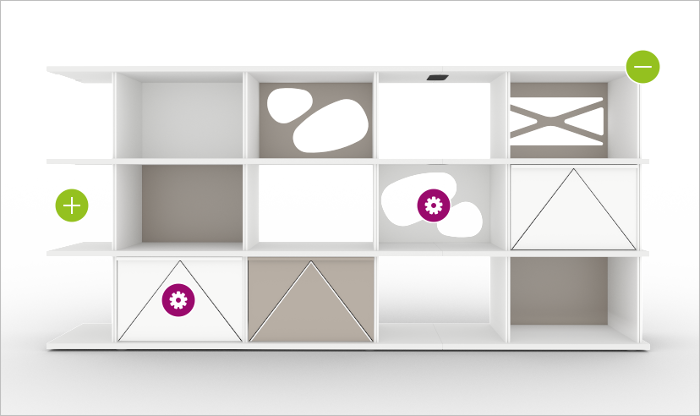
Source: LO Next by Lista Office LO
Improvements in Folder Management (pCon.planner PRO)
When you select an article in the Folder Manager by double clicking on it, it will now immediately be selected within your plan. Inconsistent articles will now be shown in red within the directory structure.
Several new import formats
pCon.planner 7.7 supports the import of the following formats:
| • | OBJ |
| • | glTF |
| • | Autodesk® FBX |
| • | ColladaTM DAE |
| • | SketchUpTM 2018 |
| • | STL |
Improved import formats
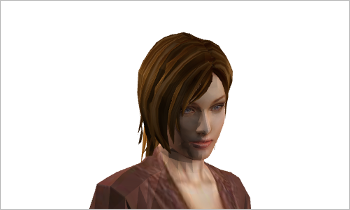
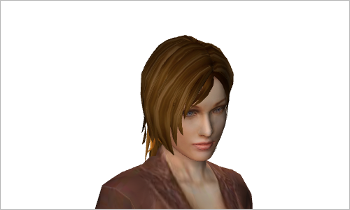
Models from the SketchUpTM 3D Warehouse are now imported with improved and more realistic surfaces. The image on the left side shows a SketchUpTM model as displayed in pCon.planner 7.6, the image on the right side shows the same model in pCon.planner 7.7:
|
|
The import of Autodesk® 3DS files has been reworked and various bugs have been eliminated.
IFC files are now processed on a completely new technical basis: the import is faster and handling has been improved. Walls in IFC models are now automatically on the same wall layers as pCon.planner and can be easily hidden.
The export of models in SKP format is now possible for SketchUpTM 2017 and SketchUpTM 2018.
The format PEC (pCon exchange container) will retain the directory structure created in pCon.planner 7.7 when exported.
Architectural Elements and Dimensions
More options when planning staircases
pCon.planner 7.7 makes it much easier for you to draw staircases. Stairs can now be created from the lowest to the highest point. The drawing direction can be changed from the context menu. You can then use the Properties Editor to set the dimensions for the step height and total height of the staircase. New properties offer more realistic-looking stairs. In the Properties Editor, you can adjust the following characteristics:
| • | Open or closed staircases |
| • | Web-shaped or block-shaped stairs |
| • | Various step profiles with varied lengths and thicknesses |
| • | Invisible staircase foundations, visible beams or closed sides |

Individually design windows and doors
Your windows will now be exactly as you need them: There are new options for skylights, window jambs can be added for dormer windows and you can adjust the direction of your window sills. Door handle heights can also be individually set. This feature is also found in the Properties Editor.
Walls, rooms and ceilings
Basic room elements have also been updated:
| • | Ceilings can be inserted with just a few clicks |
| • | The position of ceiling grids can be specified in the Properties Editor using the X and Y axes |
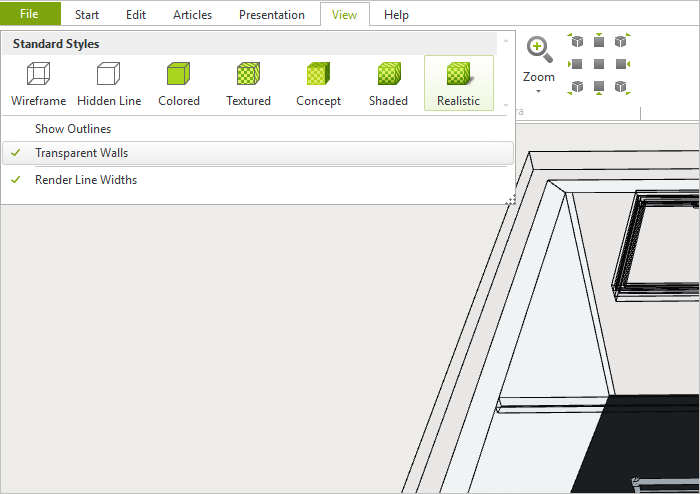
| • | Checking the box Transparent Walls (View tab, group Render) allows for transparent ceilings |
Further changes in room and wall elements
Modified floor behavior for doorsills: pCon.planner 7.7 automatically adjusts the floor to the offset of the door.
Radiators: In addition to the classic ribbed look, radiators with a smooth surface can also be inserted.
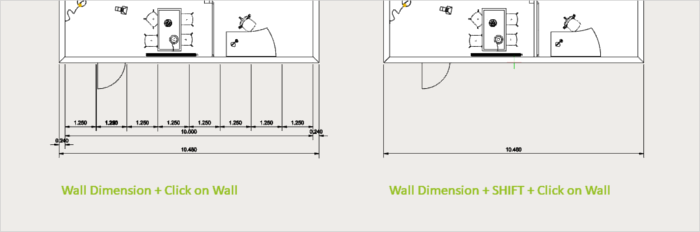
Minimalistic wall dimensions: Once you’ve selected the wall, the function Wall Dimension will insert all wall dimensions. In addition to the total length of the wall, these dimensions include the widths of windows and doors as well as the distances between the wall elements. No we’ve added a practical twist to this feature: Select Wall Dimension, press SHIFT and click on the wall at the same time, and you will see only the dimension for the wall length.
Quicker dimension updates: Changes to the dimension style are now applied more quickly to the drawing di-mensions. This effect is particularly noticeable in large plans.
You can look forward to improved handling when working with pCon.planner.
Smooth zooming through obstacles
When zooming through walls and other geometries, press the SHIFT key to ensure smooth navigation. Transparent walls and ceilings will no longer stand in your way when navigating through your plan.
Navigating with the keyboard
In perspective view you can now use your cursor to rotate right, left, up and down. These functions are an addition to the movements on a straight line executed by pressing W, A, S or D.
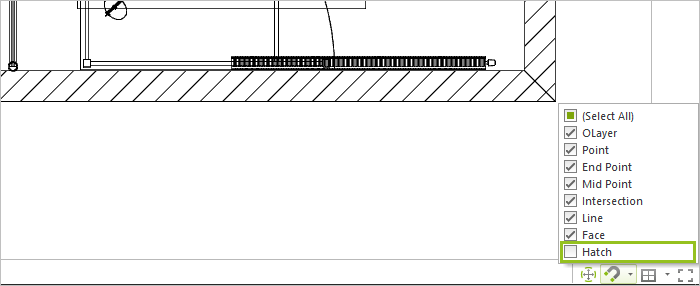
New snap mode: Hatching
Snapping the cursor onto hatched areas can now be enabled or disabled. By default, this mode is disabled.
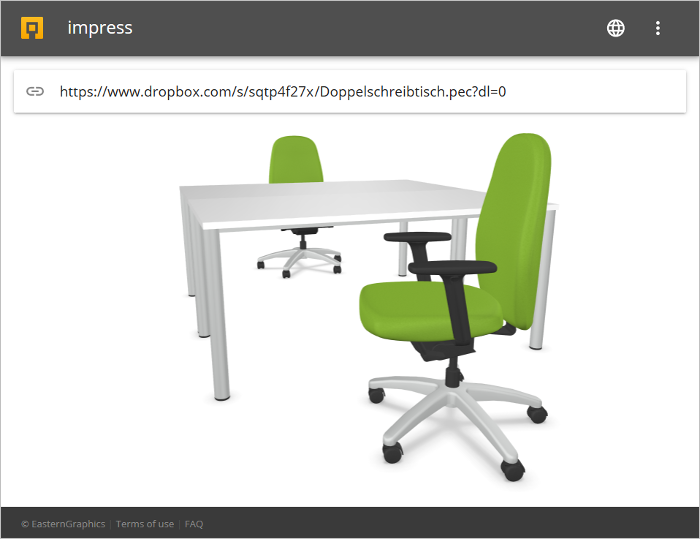
Share and View Images and Models from pCon.planner with the new impress
You can view 3D models and panorama images from pCon.planner with impress. This is the EasternGraphics service for the interactive presentation and sharing of your media content. With impress, you can share your media with customers and colleagues or embed them into your blog or website.
| • | Panoramic images are saved locally. Then you upload your image through cloud storage, for example. A publicly available link is created and inserted into impress. |
| • | Use the Share feature for uploading 3D models. It will directly be available in impress. |
You can find impress https://impress.pcon-solutions.com/. More information on using impress can be found here.
Drawing rectangles free-hand
You can now freely draw rectangles. Start drawing the rectangle, clicking within the workspace to set the first corner of the rectangle. Right click to open the Context menu and click Select Second Corner. This will allow you to set the second corner of the rectangle at any point within the workspace.
Editing 2D elements in groups
With version 7.7 of pCon.planner, you can now edit groups of various 2D elements.