New Features in pCon.planner 8.2Print
Professional Vector Graphics Creation
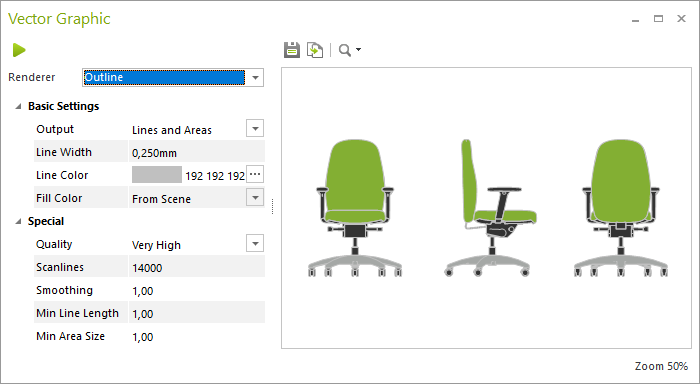
Thanks to their quality and scalability, vector graphics are a highlight. You can now professionally add vector graphics to your plan using the new Vector Graphic dialog. This new dialog (under the Presentation tab) follows the lead of the Image dialog when it comes to functionality. The dialog works together with the new Outline process. Here, outer lines and surfaces within the plan are calculated as vectors.
In addition, the Wireframe and Hidden Line render modes can be set as the foundation for vector graphics. Settings for line width, line and surface colors, and quality round out this feature.
From pCon.planner 8.2, the export of vector graphics will take place directly from the Vector Graphic dialog. Exporting via the Start Menu is no longer required.
The following file formats are available:
•SVG
•DWG/DXF
•EMF
In addition, you can use the dialog to create the following standard image formats: JPG, PNG, BMP.
Image editing in pCon.planner 8.2 rests on two pillars: In addition to a new, dynamic tab for image editing, you will also find a separate Image Editor.
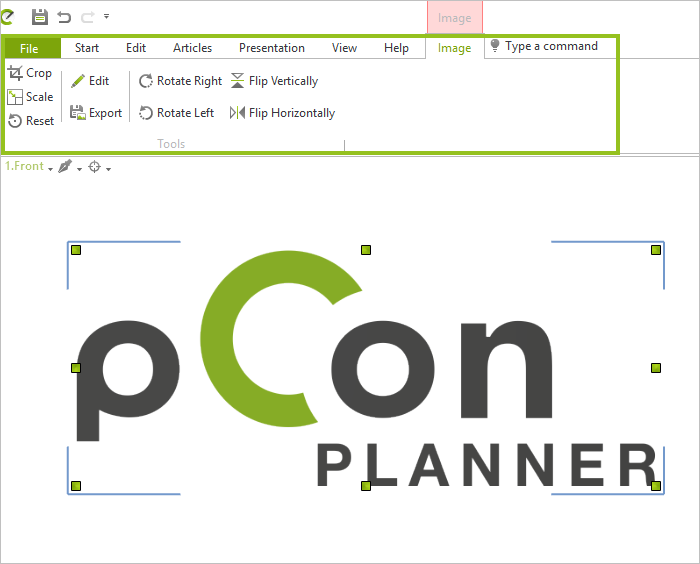
The Image Tab
This new, dynamic tab can be opened by clicking on the desired image within the planning or layout area. In this tab, you will find, among others, functions for rotating, mirroring and cropping your images.
You can also export selected images using the Image tab.
The New Image Editor
The Edit button in the Image tab opens the Image Editor. The new Image Editor is available in the planning and layout areas as well as for textures in the Material Editor.
Depending on the context of the image (planning area, layout page, normal mapping, etc.), you can adjust characteristics such as the contrast, saturation, hue, etc.

Transparent Images
Images with a transparent value will now be automatically inserted into pCon.planner as transparent.
|
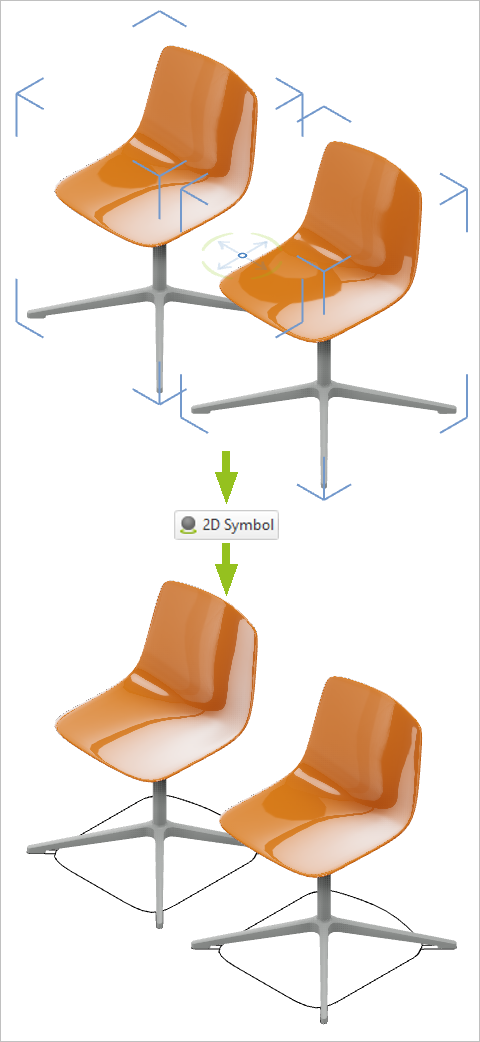
Some 3D symbols do not inherently have 2D equivalents. In this case, you can create the objects yourself. The button 2D Symbol, found on the Edit tab, automatically calculates the 2D equivalents for 3D models. Multiselection is also possible.
|
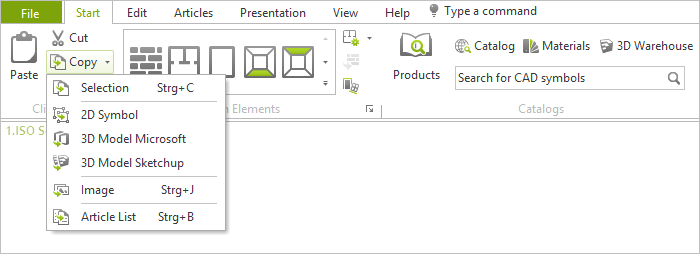
The clipboard in pCon.planner is smarter: Under Start, group Clipboard, item Copy, you can select various formats from the menu. Select an object within your plan and choose how you would like to copy it to the clipboard. The copied 3D contents require Microsoft Office 2019. The following are also possible:
•Copy blocks from your plan and insert into the layout area
•Copy and insert between pCon.planner and Autodesk® AutoCad® as well as related products
•Copied images or texts are inserted into the Windows clipboard as images/texts
Improvements in Layout Area—pCon.planner PRO
The following new features are now available in the Layout area:
•PDF files are now directly exported from pCon.planner’s Layout area. An external PDF printer is no longer required. This is also possible for multipage PDFs.
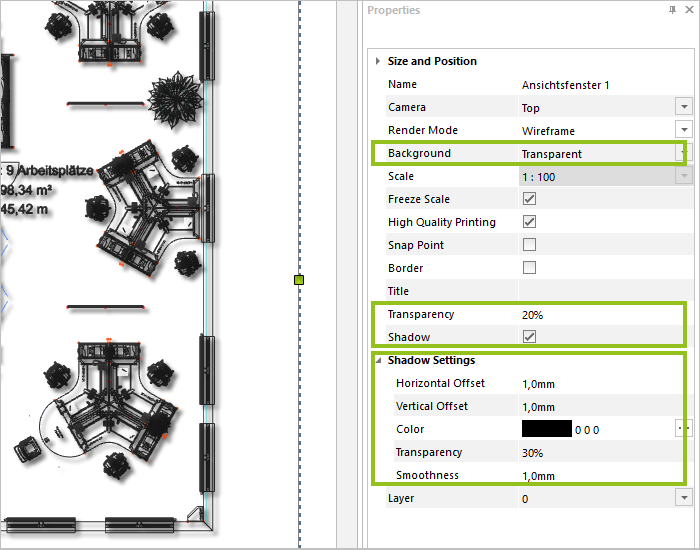
•Using the Properties Editor, you can set the background transparency and shadows for elements on Layout pages: To add shadows to the elements within the viewport, set the viewport background to Transparent and enable the item Shadows You can also adjust the display of shadows using the Properties Editor.
•The smart placement of objects onto Layout pages has also been improved: You can now align elements within the Layout page with more precision and less effort.
•In the Properties Editor, each object on the Layout page has the options Size and Position.
•Viewports on Layout pages can be displayed in Outline mode.
•The new Image Editor is also available for images on Layout pages.
•The Image Editor is also available for viewports: Open the dialog for image editing using the green pencil icon in the corner of the viewport.
Articles: Create and Edit Attributes—pCon.planner PRO
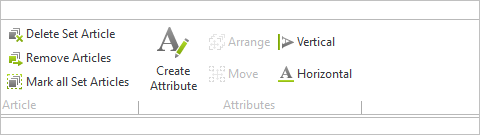
Instead of using predefined attributes (reference numbers), you can now assign freely selected attributes. You can find this function under the Articles tab, group Attributes.
|
The button Create Attribute will assign a number or description text to a selected object. |
Bonus: Additional Improvements
•OSPRay’s Denoising feature has been improved: It increases output quality while using less memory.
•Using the Edit tab, you can set a color for your dimensions. Once set, pCon.planner will use this color for all newly created dimensions.
•When editing models and drawing elements in 2D views, only two UCS axes were previously available when entering values. You can now set a third value for the new position using the Context Menu. Simply add the value directly in the Context Menu.
•PDF Import now supports layers created within the PDF. These are available in pCon.planner as usual. You also have the option to add texts from the PDF as geometries. Finally, we have improved the PDF Import preview.
•For Layers: Names of layers for imported objects now have generic 2D or 3D name attachments so they are easier to find. Switching between 2D and 3D layers has also been improved so that imported objects are correctly identified.